
Overview
Designing a character can be a very challenging process. Trying to find new ideas to create isn’t always easy. Today, I will be giving my thought process behind designing a character and providing some helpful tips that might better help your skills.
Getting Inspiration and Ideas
When getting inspiration, I tend to search for references of animals online. For those who struggle to use their imagination, there are a variety of creature generators online that can help generate ideas. Those generators helped me numerous times when I struggled to think of ideas. Another way to get inspired is by looking at creatures other people have created! There are so many to look at and, looking at them can help get the creative juices flowing!
Tips and Advice
Keep in mind using references is okay! Many people tend to stray away from using them because they feel like it’s a form of copying, which isn’t true. As long as you’re not tracing over something, you can reference an image that can help you get parts of your creature anatomically correct! (-But it doesn’t always need to be anatomically correct since the animal itself doesn’t exist. Just try and have fun with it and enjoy yourself!) Along with that, if you are not satisfied with what you’re creating and feel like something is off but cannot put your finger on it, try and flip your canvas! Looking at your artwork from different angles can help you see the flaws.
The Steps
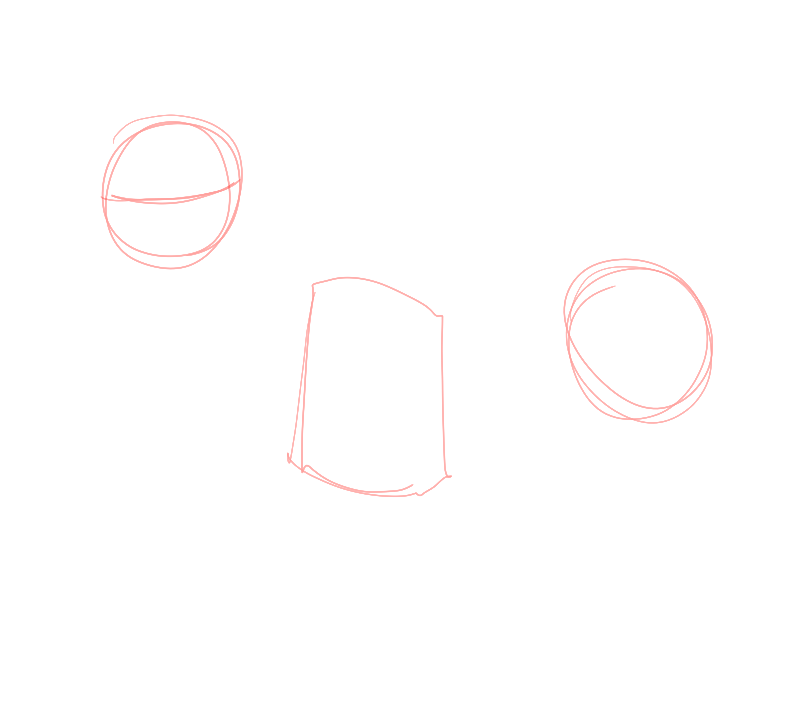

Step #1: Start by creating the basic shapes of your creature using basic shapes like circles, triangles, and squares. This shape will resemble where your creature’s head and body will be.
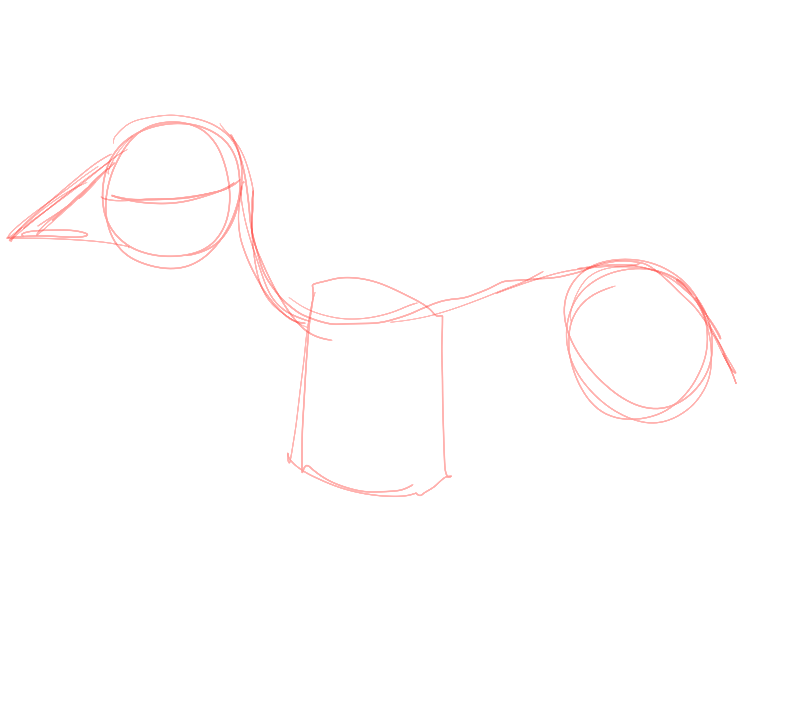
Step #2: Connect the shapes using a line that will be the spine of your creature. You will also need to define the mouth of your beast; since I am basing mine off of a bird, I will be referencing a beak shape.
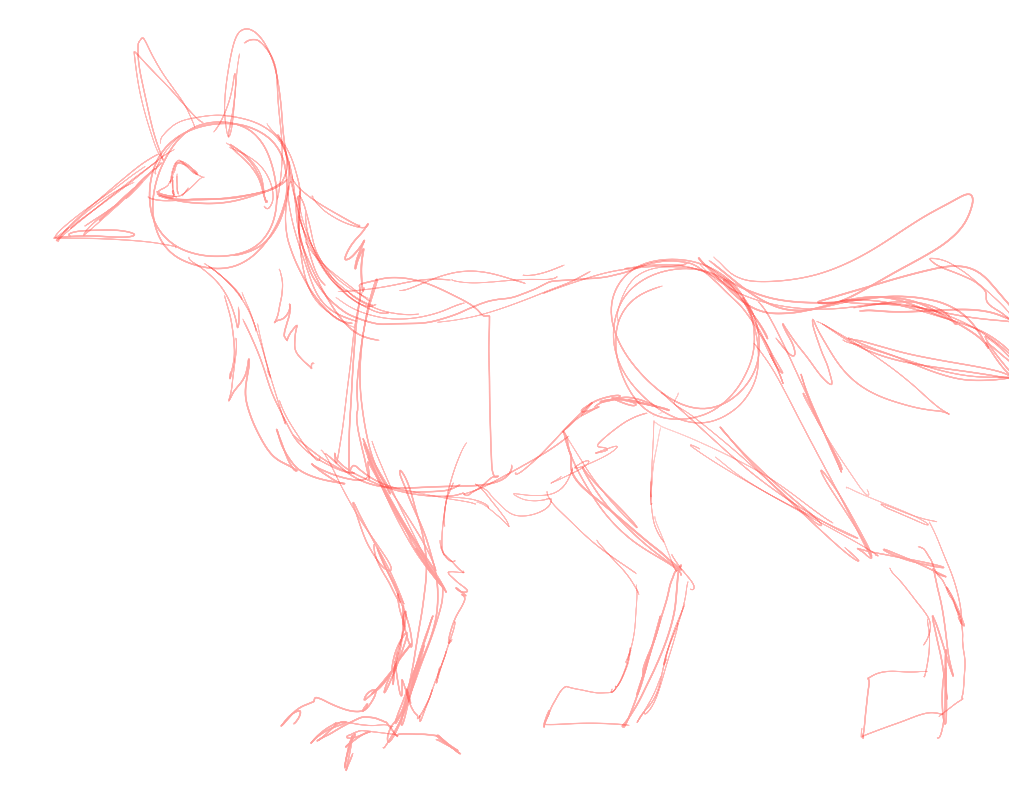
Step #3: Next, you will start creating lines that will represent the location of the legs, tail, and other features like the ears. I decided to give the creature talons for its front legs and paws for the back.
Step #4: This step adds more refined details like the eyes and locations of the fur and tail! The sketch doesn’t need to be too detailed because it’s added during the final outline.
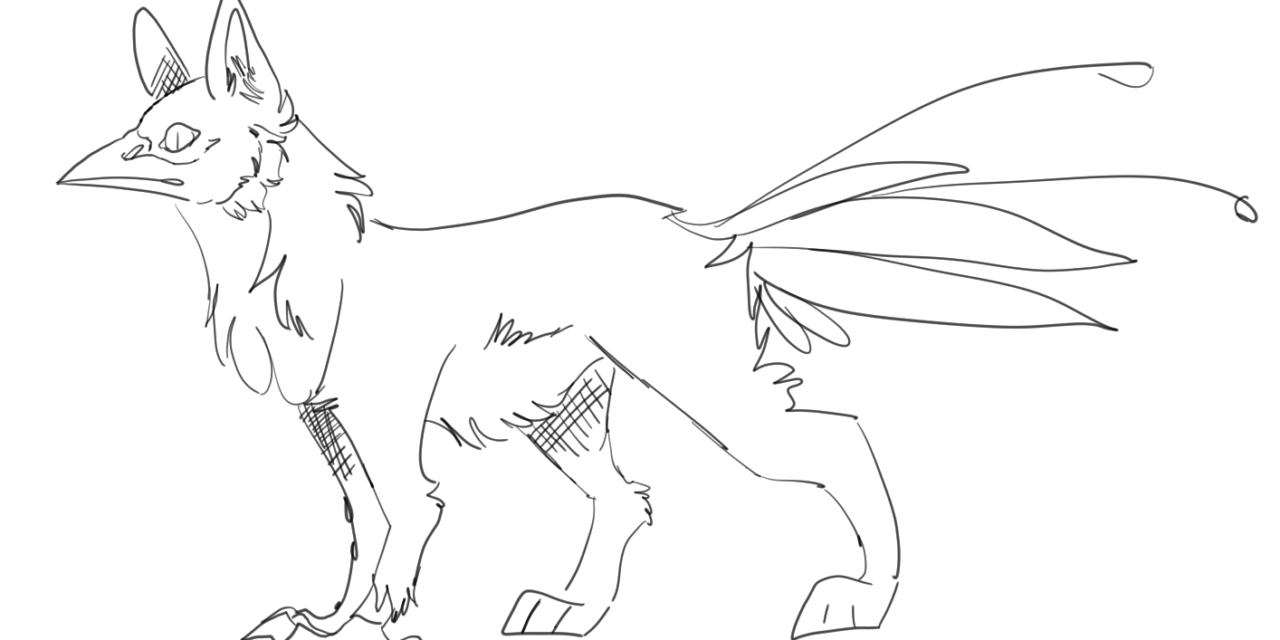
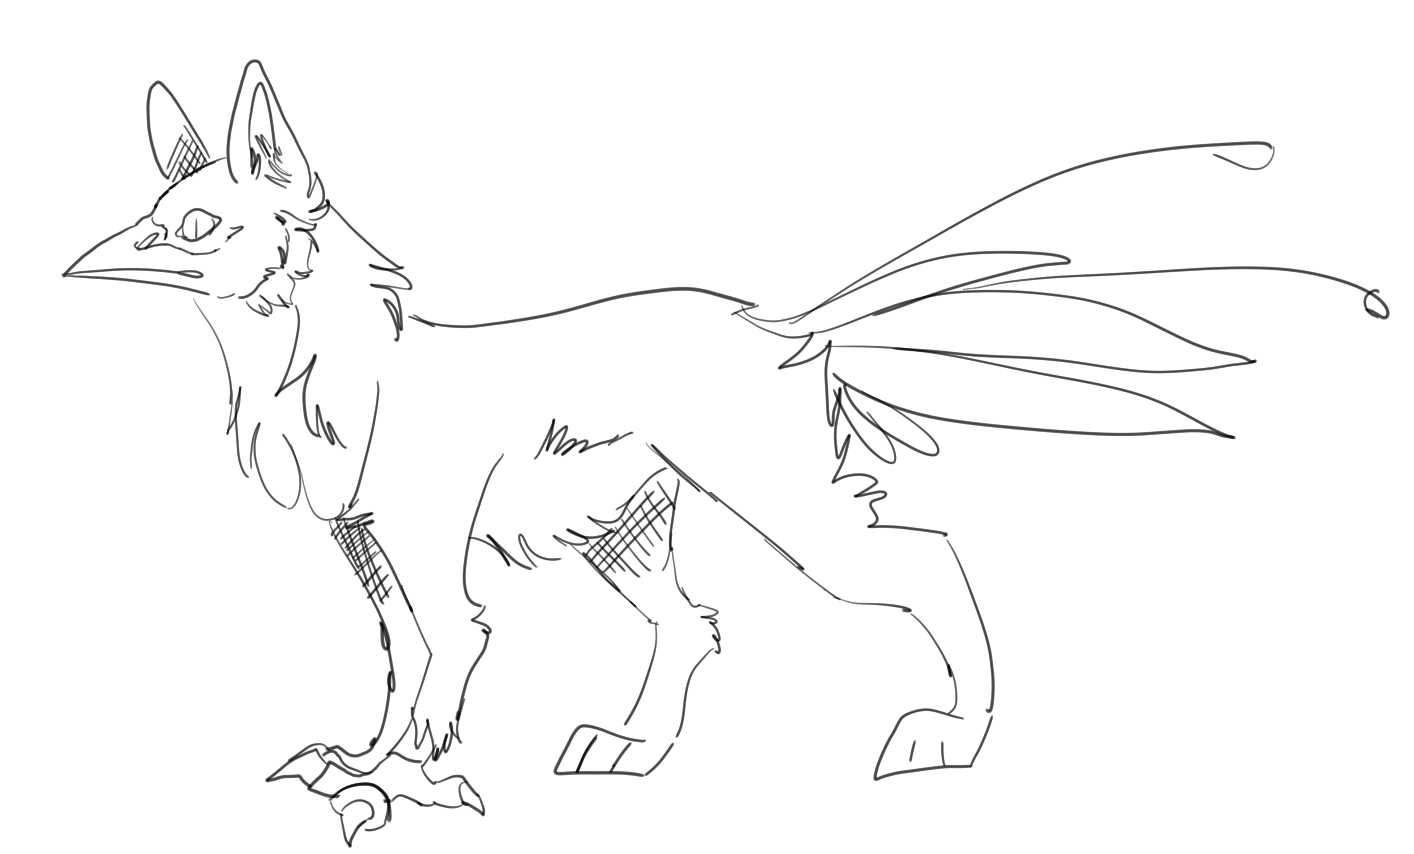
Step #5: Finally, you’re going to want to trace over your original lines with black (Can be any color) on another layer and add finer details. Then you’re finished!
Did you find these tips helpful? Why or why not?
Brittany Parsons
Student Author - Fall 2021
Brittany Parsons is a freshman at GCSC. She is working for her Bachelors degree in Digital Media.


